
In this blog I cover how you can setup NGINX to proxy your request to access location blocked web services.
I was out of town for a few weeks when I wanted to purchase some t-shirts from my favourite online store. That’s when I realised they block requests coming out of country. That’s when I thought I should prolly use a VPN. But my geeky ass wanted to do something cool.
Enter NGINX
So I thought:
- let’s build a forward proxy in NGINX
- run it on a VPS
- configure my device to be proxied by it
- ✨avoid✨ getting blocked
Only to realise that NGINX doesn’t support the HTTP_CONNECT method.

The HTTP_CONNECT method
How is HTTP_CONNECT related to forward proxy? Let me explain. Proxying plain HTTP request is as simple as the request reaching the proxy server then being forwarded to the destination server. But HTTPS requests are encrypted so the proxy server has no way to understand where to forward the request to. This problem is solved by the HTTP_CONNECT method.
In order to communicate (under HTTPS) to the destination server via a proxy, the client has to establish a tunnel with the proxy server using the HTTP_CONNECT method. Read more here.
Supporting HTTP_CONNECT on NGINX
Now back to the original problem. We need a way to support the HTTP_CONNECT method in NGINX. This can be done using a custom NGINX module written by @chobits. The NGINX ecosystem is full of such modules that provide different custom functionalities on top of NGINX.
Let’s build NGINX with the ngx_http_proxy_connect_module.
# download nginx and the ngx_http_proxy_connect nginx module source code
wget https://github.com/chobits/ngx_http_proxy_connect_module/archive/refs/heads/master.zip
wget https://nginx.org/download/nginx-1.27.0.tar.gz

# decompress the artifacts
tar -xzf nginx-1.27.0.tar.gz
unzip master.zip

# patch and build nginx
cd nginx-1.27.0/
patch -p1 < ../ngx_http_proxy_connect_module-master
./configure --add-module=/root/ngx_http_proxy_connect_module-master # absolute path to the module
make && make install
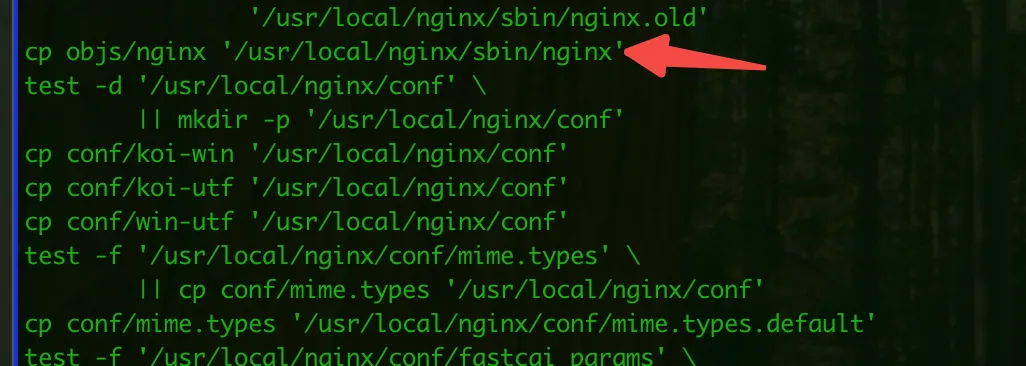
Following the above steps will install the customized version of NGINX in /usr/local/nginx/sbin, you can cross-verify the installation path as it will be shown as output of make && make install in the steps mentioned above.
You can verify if the custom nginx build was successful by running nginx -V. The output will should contain --add-module:

Now use the following nginx.conf to start NGINX:
    server {
        listen 8080;

        # Allow CONNECT requests for HTTPS
        proxy_connect;
        proxy_connect_allow 443;
        proxy_connect_connect_timeout 60s;
        proxy_connect_read_timeout 60s;
        proxy_connect_send_timeout 60s;

        # Regular proxy configuration
        location / {
            proxy_pass $scheme://$http_host$request_uri;
            proxy_set_header Host $http_host;
            proxy_set_header X-Real-IP $remote_addr;
            proxy_set_header X-Forwarded-For $proxy_add_x_forwarded_for;
        }
    }
That’s it, the above config can make NGINX act like a forward proxy.
Setting up NGINX as a proxy for your computer
Next step is to configure your computer to proxy all requests to NGINX, ideally you should have the above NGINX instance hosted in a server where location based access isn’t blocked by the web service of your choice.
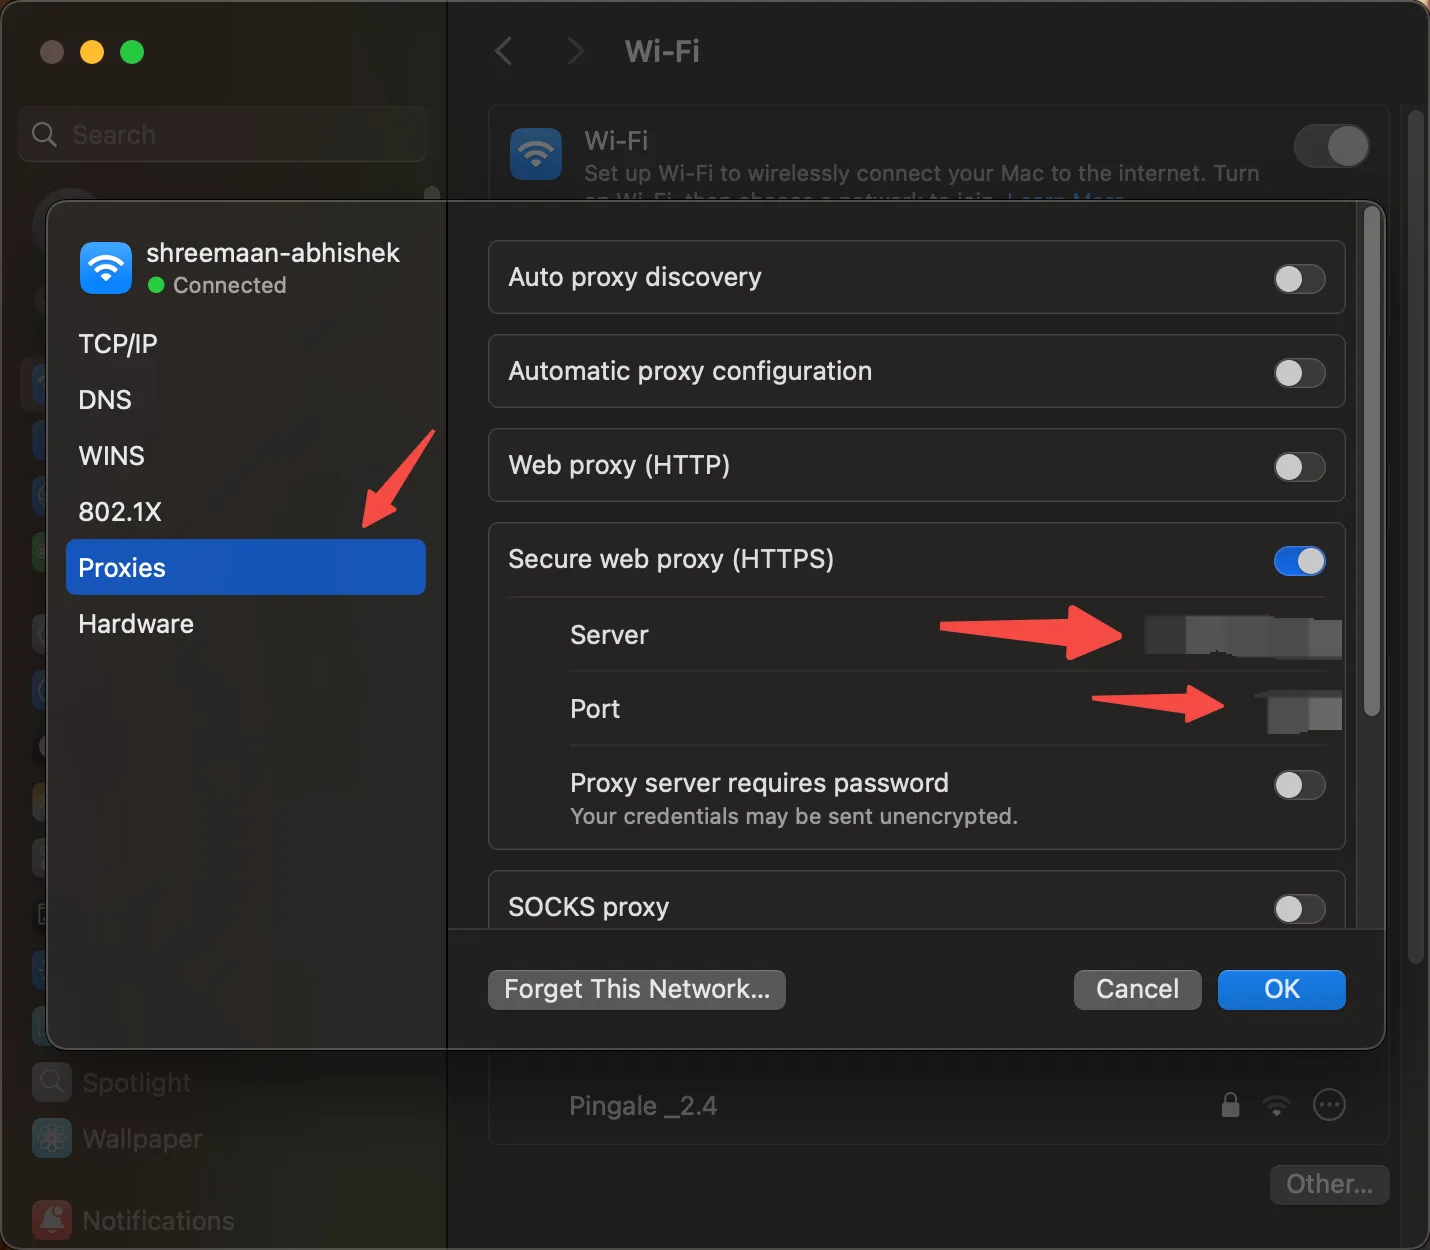
This can be done by configuring the proxy settings of your current WiFi. On my mac, I followed these steps:
- Settings > Wi-Fi
- Click on Details (of the current connected Wi-Fi network)
- Navigate to “Proxies” section on the left hand side
- Configure the IP address and port
Conclusion
And that’s pretty much it, I followed all these steps to avoid using a VPN to access my favourite online cloth store :P.